Birds are nature’s wonderful companions, adding melodies and vibrant colors to our surroundings. Building a DIY bird feeder is a delightful way to bring these feathered friends closer to your home and enjoy their presence. Not only does it offer a source of nourishment for the birds, but it also provides an opportunity for you to engage in a fun and rewarding project. In this guide, we’ll take you through the steps of creating your very own DIY bird feeder, from selecting the right design to enjoying the company of your avian visitors.
PetAddict.net – The best place where you can find everything about your pet!
Why Build a DIY Bird Feeder
Building a bird feeder isn’t just about providing food for birds; it’s about fostering a connection with nature. By creating a space where birds can gather and feed, you’re inviting a sense of tranquility and wonder into your daily life. Bird feeders also serve as a gateway to birdwatching, a meditative activity that allows you to observe the fascinating behaviors of different bird species.
Selecting the Right Bird Feeder Design
Before you begin your DIY project, consider the type of bird feeder design that best suits your needs and the birds you want to attract. There are several common designs to choose from:
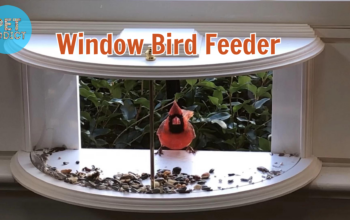
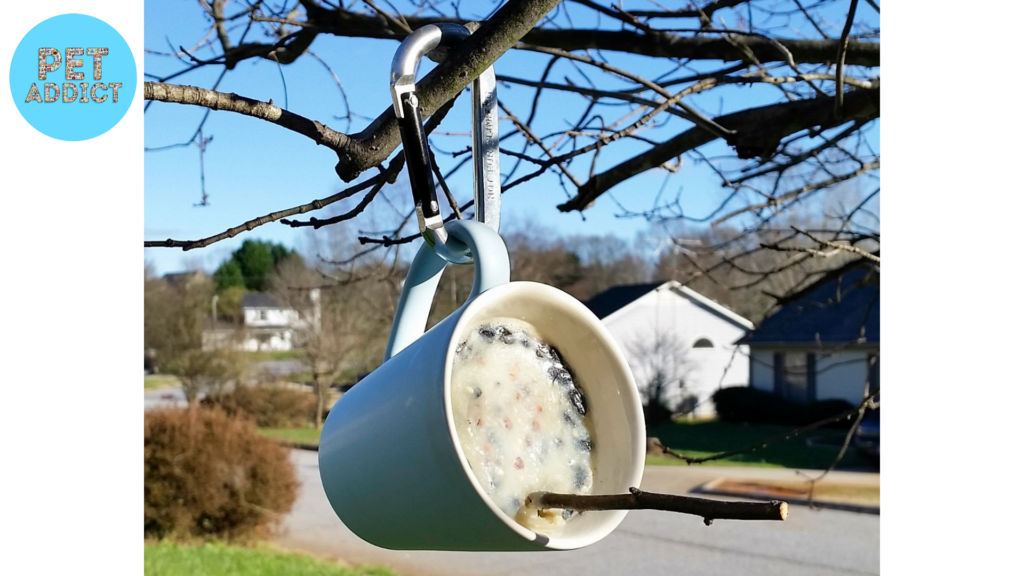
Platform Feeder
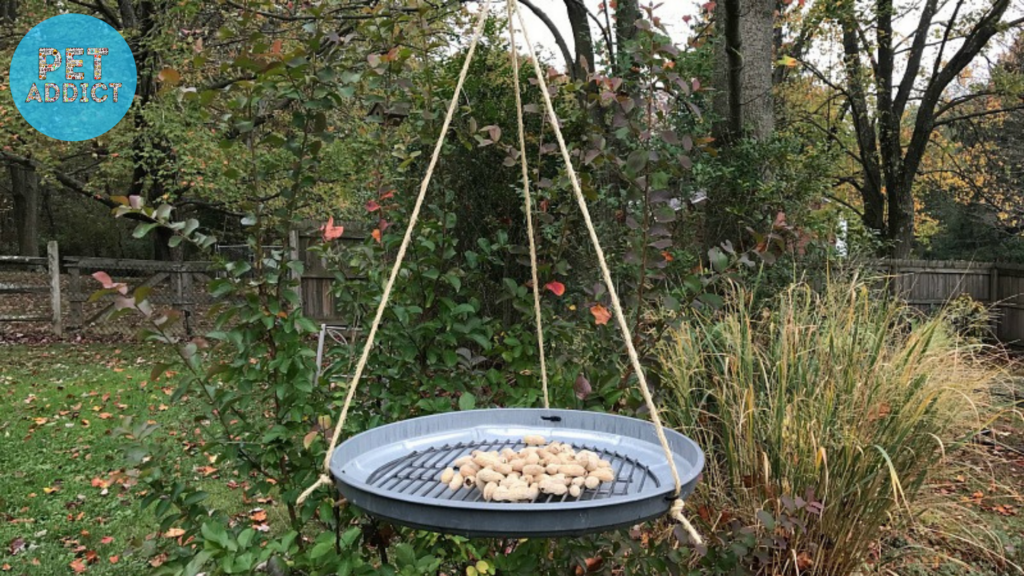
A flat surface with raised edges where you can place birdseed, suitable for ground-feeding birds like sparrows and doves.
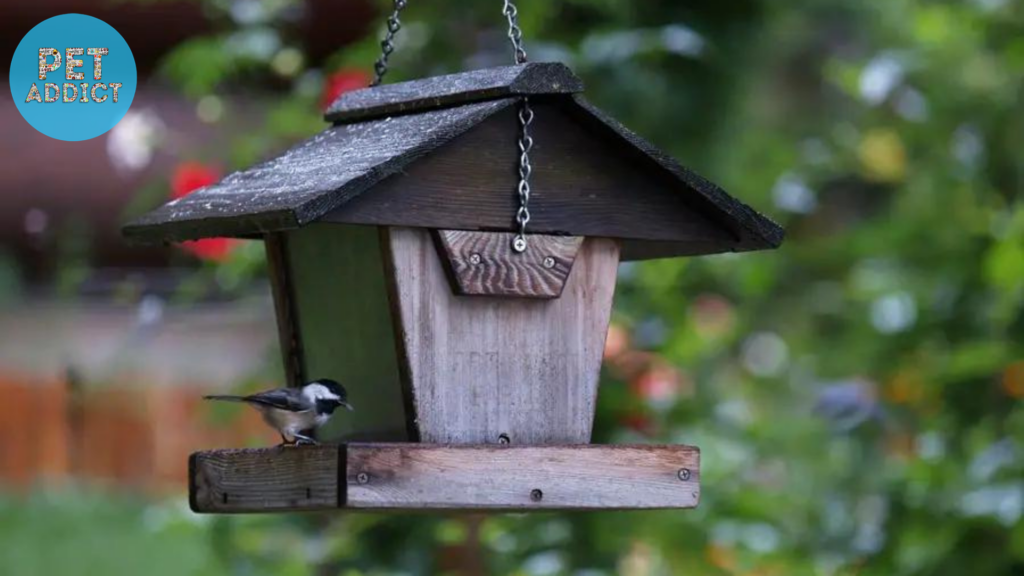
Hopper Feeder
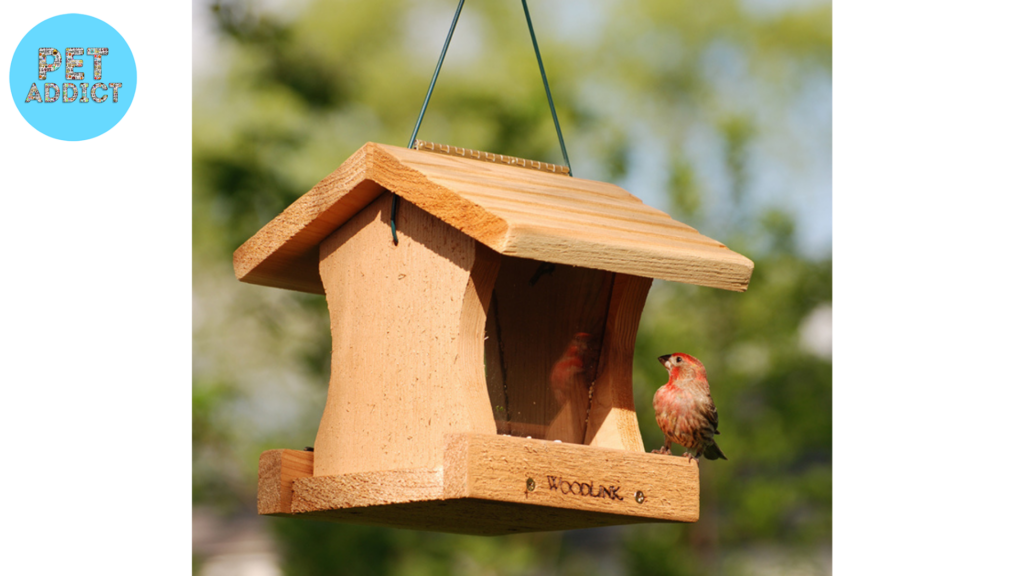
A house-like structure with multiple feeding ports, ideal for attracting various bird species, including chickadees and finches.
Tube Feeder
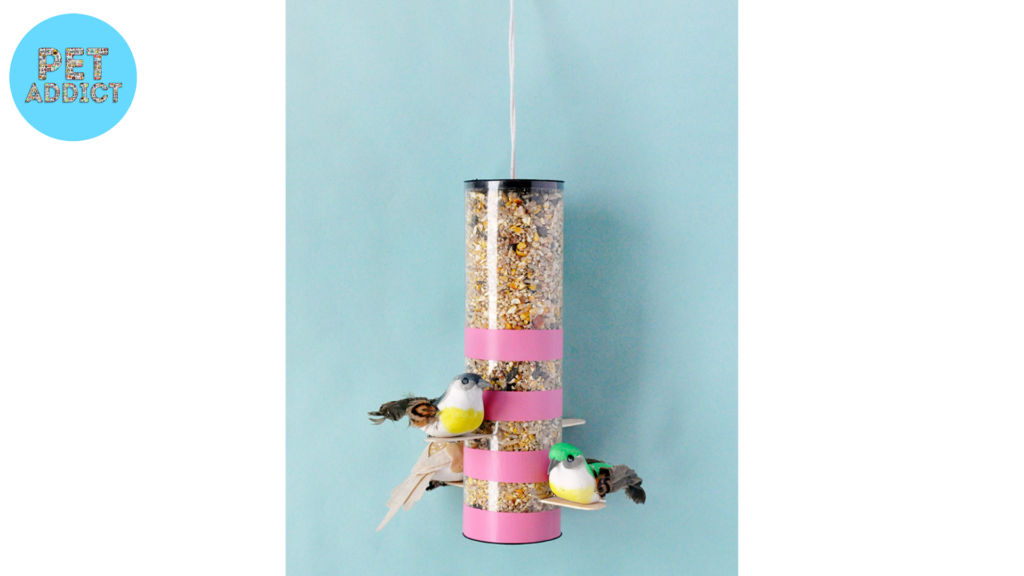
A cylindrical tube with multiple feeding ports, suitable for attracting small songbirds like titmice and nuthatches.
Suet Feeder
A cage-like structure for holding suet cakes, perfect for attracting woodpeckers and other insect-loving birds.
Nectar Feeder
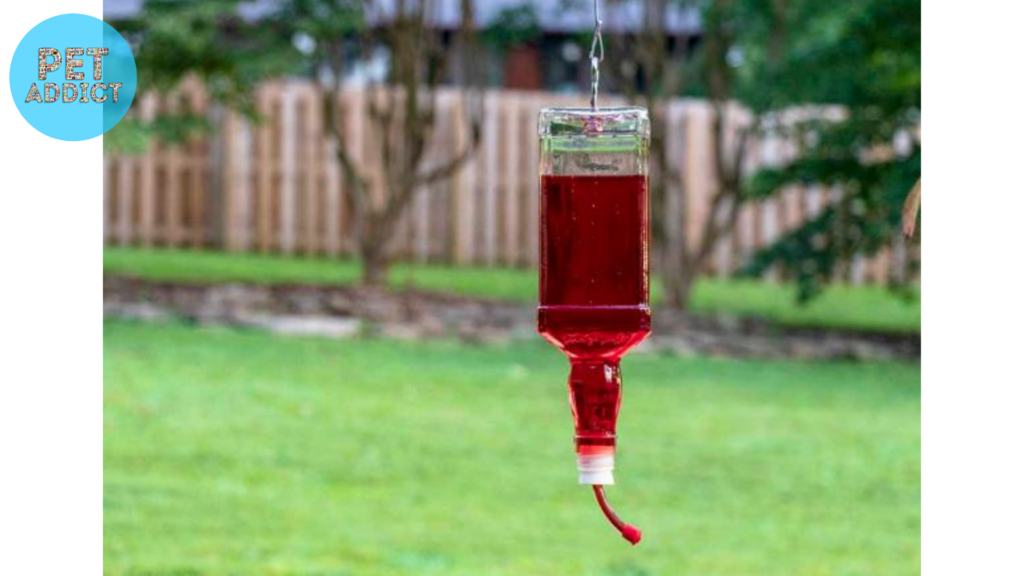
Specifically designed for hummingbirds, with a reservoir for holding sugar water.
Choose a design that aligns with the birds you wish to attract and the aesthetic of your outdoor space.
Gathering Materials and Tools
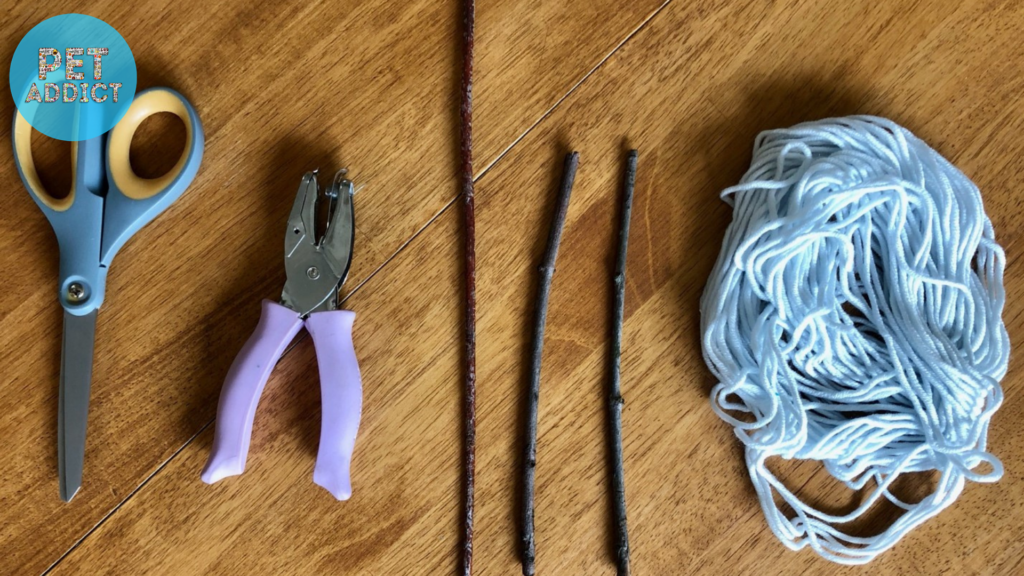
Once you’ve settled on a design, it’s time to gather the materials and tools you’ll need for the project. Here’s a basic list to get you started:
- Wood: Depending on the design, you’ll need pieces of wood for the feeder’s structure.
- Screws and Nails: For assembling the feeder.
- Hanging Hardware: To securely hang the feeder.
- Paints and Brushes: If you’d like to add a splash of color to your feeder.
- Bird-Safe Sealant: To protect the wood and make it weather-resistant.
- Birdseed or Suet: The main attraction for your avian visitors.
Step-by-Step Construction Process
Now that you have everything ready, let’s dive into the construction process:
- Plan Your Design: Draw or visualize how you want your bird feeder to look. This will guide your construction process.
- Cut the Wood: Using the appropriate measurements, cut the wood into the necessary pieces according to your design.
- Assemble the Feeder: Follow your design plan to assemble the pieces using screws or nails. Ensure that the feeder is sturdy and secure.
- Paint and Seal: If you’d like to add color to your feeder, paint it with bird-safe paint. Once dry, apply a bird-safe sealant to protect it from the elements.
- Attach Hanging Hardware: If your design requires hanging, attach the necessary hardware to the feeder.
- Fill with Birdseed or Suet: Place birdseed or suet into the designated feeding compartments.
- Hang or Place the Feeder: Find a suitable location for your feeder, whether hanging from a tree branch, mounted on a post, or placed on a flat surface.
Congratulations, you’ve successfully created your own DIY bird feeder!
Choosing the Perfect Location
The location of your bird feeder plays a significant role in attracting birds and ensuring their safety:
- Accessibility: Birds should be able to reach the feeder easily. Place it in an open area that birds can approach without obstructions.
- Safety: Position the feeder away from windows or reflective surfaces to prevent collisions.
- Protection: Consider placing the feeder near shrubs or trees, providing birds with shelter and cover from predators.
- Visibility: Position the feeder where you can easily see it from your home, allowing you to enjoy the bird activity.
Types of Bird Food to Offer
The type of bird food you offer will determine the species of birds that visit your feeder:
- Seeds: A mix of sunflower seeds, millet, and safflower seeds attracts a wide variety of songbirds.
- Suet: Suet cakes made from animal fat and birdseed are popular among woodpeckers, nuthatches, and other insect-loving birds.
- Nectar: A solution of sugar water in a nectar feeder is perfect for attracting hummingbirds.
Maintenance and Care of Your DIY Bird Feeder
To ensure your bird feeder remains a welcoming space for birds, follow these maintenance tips:
- Regular Cleaning: Clean the feeder every one to two weeks to prevent the growth of mold and bacteria.
- Refilling: Keep the feeder well-stocked with fresh birdseed or suet to attract more birds.
- Weather Protection: If your feeder isn’t weather-resistant, consider moving it indoors during harsh weather conditions.
- Squirrel Prevention: To prevent squirrels from raiding the feeder, use squirrel baffles or choose a location that’s difficult for squirrels to reach.
Conclusion
Building your own DIY bird feeder is a heartwarming endeavor that brings nature’s beauty closer to your home. By providing a space for birds to feed, you’re creating a sanctuary that fosters a sense of wonder and tranquility. Whether you’re a seasoned bird enthusiast or a beginner, the act of observing these feathered friends will undoubtedly enrich your connection with the world around you.
FAQs
- Q: Is it difficult to build a DIY bird feeder? A: Not at all! With the right materials and a simple design, building a bird feeder can be a fun and satisfying project.
- Q: Can I paint the bird feeder with any type of paint? A: It’s important to use bird-safe paint that won’t harm the birds when they come in contact with it.
- Q: How can I prevent larger birds from monopolizing the feeder? A: Choose a feeder design with smaller perches that larger birds can’t comfortably access.
- Q: How can I attract hummingbirds to my feeder? A: Fill a nectar feeder with a solution of one part sugar to four parts water. Avoid using red food coloring.
- Q: What time of day is best for birdwatching? A: Birds are most active during the early morning and late afternoon hours, making these times ideal for birdwatching.