Drawing cats can be a fun and rewarding activity for artists of all levels, even if you’re just starting out. Cats have a unique and charming appeal that makes them a popular subject for artistic endeavors. In this step-by-step guide, we’ll walk you through the process of creating easy cat drawings, perfect for beginners. Whether you’re looking to improve your drawing skills or simply want to enjoy a creative activity, these simple steps will help you create adorable cat drawings.
PetAddict.net – The best place where you can find everything about your pet!
Materials You’ll Need
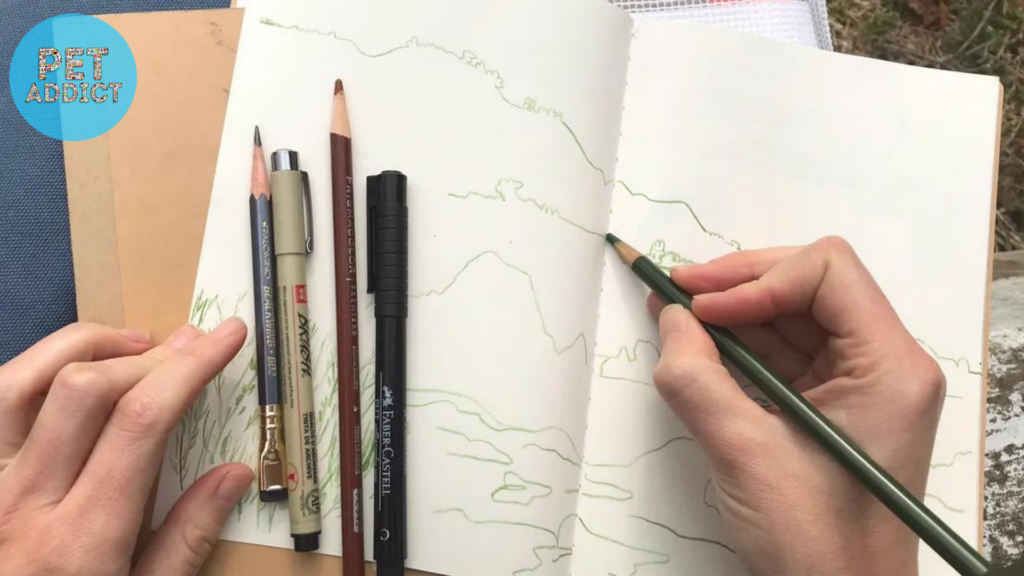
Before you start, gather your materials. You’ll need:
- Drawing paper
- Pencils (preferably HB or 2B)
- Eraser
- Colored pencils (optional)
Having these basic supplies ready will make the drawing process smooth and enjoyable.
Step 1: Basic Shapes
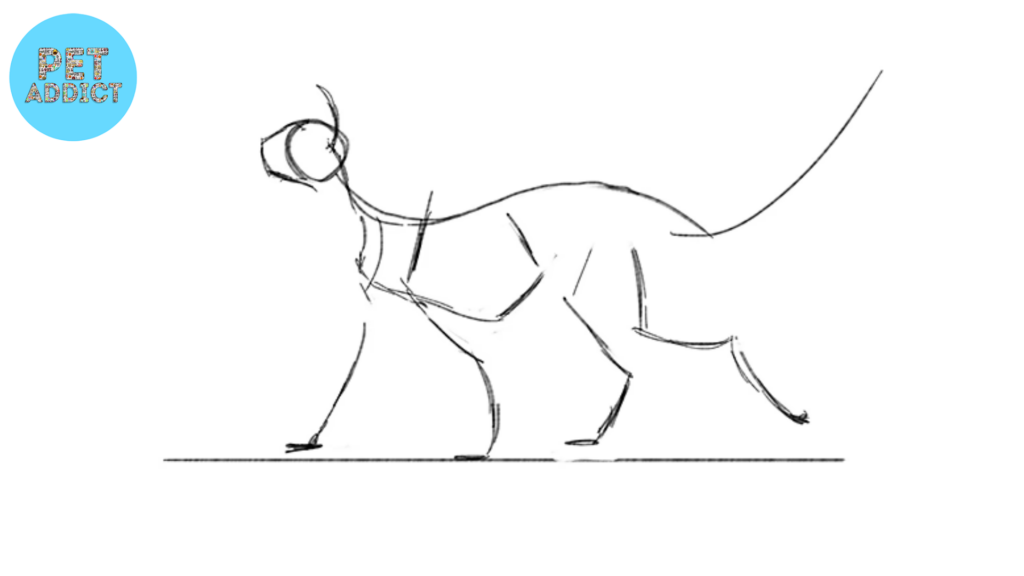
Begin by drawing a large oval shape for the cat’s head. This will serve as the foundation for your drawing. Next, draw a smaller oval slightly below the head for the body. These simple shapes will form the basis of your cat’s body proportions.
Step 2: Eyes and Ears
Now, add two circles for the eyes inside the head oval. Position them evenly and leave a bit of space between them. Above the head, draw two small triangles for the ears. The ears should be pointed and slightly tilted outward.
Step 3: Nose and Mouth
In the center of the head oval, draw a small triangle for the nose. Just below the nose, add a slightly curved line for the mouth. Keep the mouth simple by drawing a small “U” shape.
Step 4: Adding Legs and Tail
Draw four small circles for the paws at the bottom of the body oval. Connect the paws to the body using curved lines to create the legs. For the tail, draw a long, slightly curved line extending from the back of the body.
Step 5: Facial Details
Now it’s time to add details to the face. Draw small circles inside the eyes for the pupils. This will give your cat a lively and adorable expression. Above the eyes, draw a curved line for the forehead.
Step 6: Fur Texture
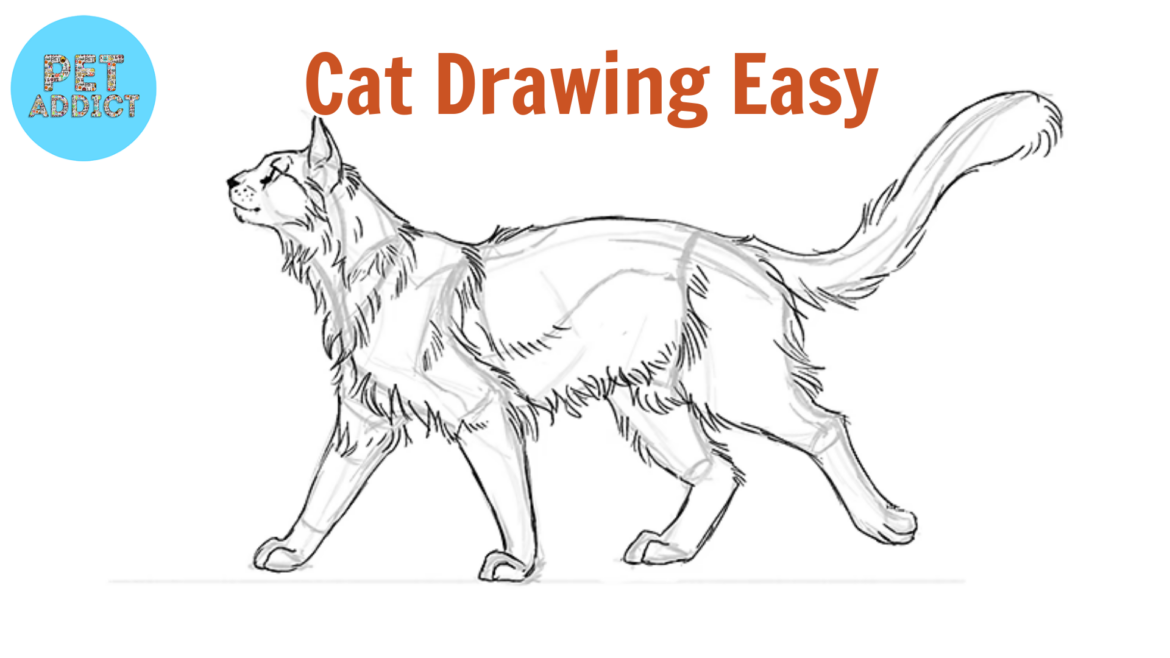
To add texture to your cat’s fur, use short, gentle strokes around the head, body, and tail. These strokes simulate the soft fur of a cat. Don’t worry about making them perfect; irregular strokes add to the charm of the drawing.
Step 7: Whiskers and Final Touches
Draw short lines extending from the sides of the nose for the whiskers. Add a few whiskers on each side. Finally, go over your drawing with darker lines to define the features. Erase any unnecessary guidelines to clean up your drawing.
Step 8: Coloring (Optional)
If you’re using colored pencils, you can add color to your cat drawing. Choose soft, natural colors for a realistic look. Lightly color the fur, eyes, and any other features you want to emphasize.
Step 9: Celebrate Your Creation
Congratulations! You’ve created an adorable cat drawing. Remember, practice makes perfect, so don’t hesitate to create more cat drawings to further improve your skills. As you practice, you’ll discover your own style and techniques.
Conclusion
Drawing cats can be a delightful and relaxing activity, especially when you break down the process into simple steps. Whether you’re a beginner or an experienced artist, these easy steps can help you create charming cat drawings that capture the essence of these beloved animals. So pick up your pencils, let your creativity flow, and enjoy the art of drawing cats!